Showing posts with label bread. Show all posts

Thursday, October 6, 2011

BOGI Fair

Last Sunday Kate, Mel and I headed out to Albion for the annual Brisbane Organic Growers Fair. This is our third fair. I really look forward to these events. They're a great opportunity to talk to people who are all involved in really interesting aspects of food production, education or community development. And it's also the perfect time to pick up some new plants and tasty things to eat.


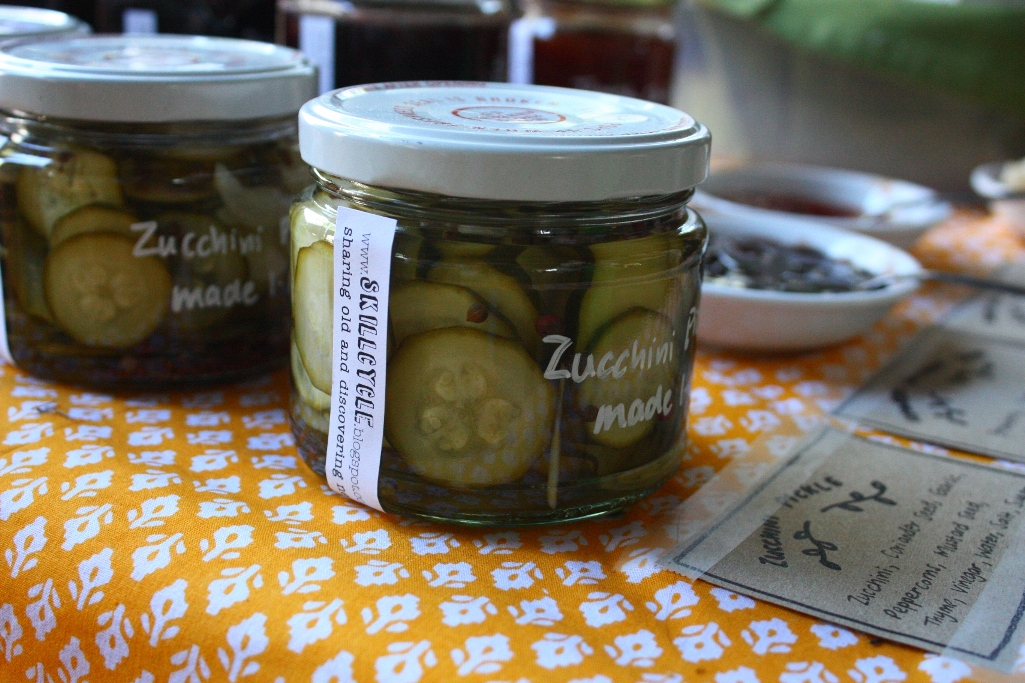
Mel and I made some preserves (Strawberry Balsamic Jam, Tomato Jam and Old Fashioned Zucchini Pickles) and organic potato and onion soup with home made bread to sell. Kate was a baking demon and put my little loaf to shame with a massive bag of her own bread. 


Because she's so hardcore, Kate also brought her popular Rosemary Crackers (they always sell out fast...maybe she'll post her recipe here one day...and some time saving pointers she learnt the hard way) plus her home grown herbs. 


Kate also brought along some dried culinary lavender. This stuff is very useful. She discusses it here.


Everything sold really well. I love how the community comes along to these days to learn something new and support local growers and makers. I always leave with new ideas and a big grin, definitely an inspiring day. I'll post again soon about some of the people I spoke to and the amazing things they're doing.


Wednesday, July 13, 2011

Lazy girl bread

As promised, my easy bread recipe. I call this my 'Lazy Girl Bread' because sometimes that's what I am. But I still want fresh, homemade bread. This is my compromise. The recipe has a followed a strange convoluted pathway to what I make now. Hannah found the original recipe on Mother Earth News and she tells me it came from a New York Times recipe before that. She gave it to me and I changed the technique and quantities over time to suit my kitchen and my oven. I think many bread recipes that originate in cooler climates need quite a bit of tweaking to work in a humid Brisbane kitchen. This one works very well for my schedule which is important if you're going to be realistic about making bread regularly. It's all very romantic to imagine kneading bread for hours and baking beautiful, gourmet breads each day but in reality, many of us have limited time and just want tasty food quickly. This bread serves this purpose and is good looking as well.

Lazy girl bread

Ingredients

4 cups flour (any mix of wholemeal, white, rye etc.)
2 cups lukewarm water
1/2 teaspoon dry yeast
2 teaspoons salt
extra flour (for dusting)

Equipment

one large mixing bowl
large pot with lid (Pyrex glass, cast iron, or ceramic), if your pot is smaller reduce to 3 cups flour to 1.5 cups water and reduce the yeast an salt a little.
wooden spoon (optional)
plastic wrap (or reuse a plastic bag)

one cotton/linen tea towel (not fluffy) ricotta basket(you get these free when you buy large amounts of ricotta but a colander or basket would work too)

Process

Mix flour and salt in bowl. Mix yeast into water until dissolved. Add water to flour and mix by hand or with a wooden spoon for 30-60secs. Cover the bowl with plastic wrap/bag and let the dough rest 12hrs at room temperature. You can mix dough in morning for a night bake or at night to rest overnight for a morning bake.

Sprinkle a little flour on your bench top. Remove the dough from the bowl using a spoon and tip it onto the floured surface. Fold the sides up into the centre and then flip the dough, tucking it under. Let the dough rest 15 minutes on the bench top. Line your basket with a tea towel and then generously coat tea towel with flour. Place the dough seam side down on the towel and dust with flour. Cover the dough with tea towel and let rise 1-2 hours, until more than doubled in size. Preheat oven to 240-250°C. Place the pot in the oven at least 30 minutes prior to baking. Once the dough has more than doubled, remove the pot from the oven and tip the dough into the pot. Cover with the lid and bake 30mins or until showing some colour. Then remove the lid and bake 15-30mins uncovered, until the loaf is nicely browned. You’ll notice a change in the ‘smell’ of the loaf, from warm bread to slightly 'toasty', that’s a good indicator of the loaf being done. Otherwise, tapping on the loaf and listening for a hollow sound is another good technique. You want to cool the loaf out of the pot on a rack. It is important to wait until the loaf is cool before you cut it. Try to resist. Try hard.

Sunday, July 10, 2011

First SkillCycle Day

Our first SkillCycle Day went off without a hitch Saturday! Nine of us met at Kate's house to share our skills and learn new ones. Kate welcomed us wih tea and pumpkin cake and then we got to work.


We started with my easy no-knead bread (recipe to follow)
which I made with very basic ingredients.


Hannah gave us a demo on her technique for cheat's 'ricotta' and yoghurt.


We took a break for lunch digging into some of our delicious fresh bread and cheese. Next up was a jam making with Mel. She spoke about the importance of sterilising your jars and equipment and the benefits of boiling water baths for making safe preserves.


Mel will post her recipe for the tasty mandarin marmalade soon. Kate's turn was next and she ran us through some basic sewing skills, talked about the differences between regular sewing machines and overlockers and then knocked up a quick produce bag. Kate will hopefully post about this at a later date.

Overall I think they day went very well. Everyone went home with something made on the day, leaving with either some marmalade or some bread and hopefully a head full of ideas and inspiration.